NovoDS DS301 offers a range of settings to configure the device based on your requiremenets. The settings offered by the device are shown are explained below.
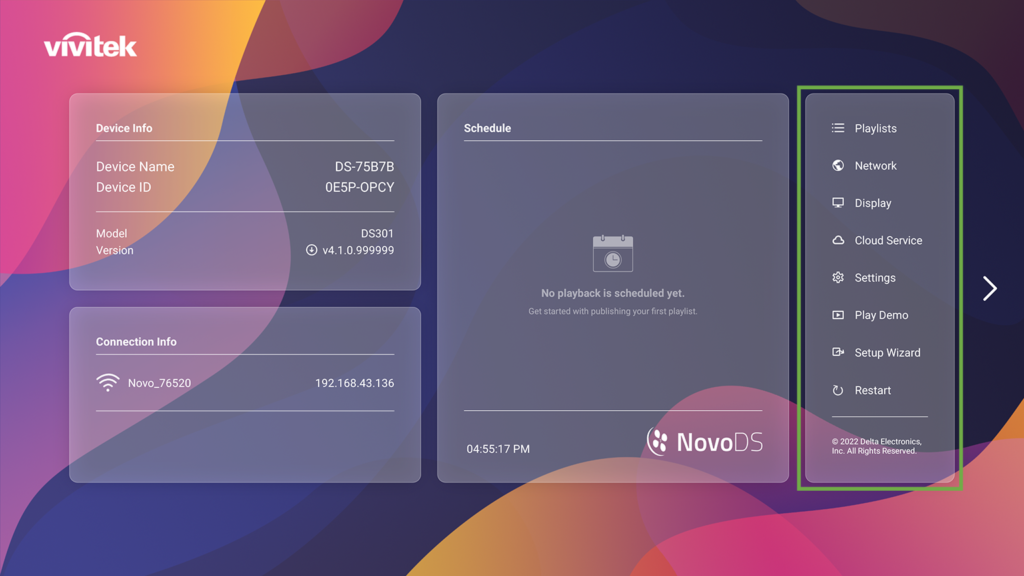
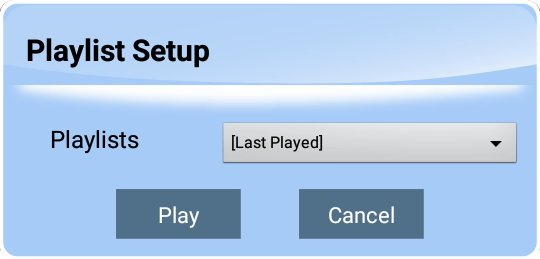
2.2.1 Playlists
The “Playlists” button allows you to select the default playlist to start upon power-up.
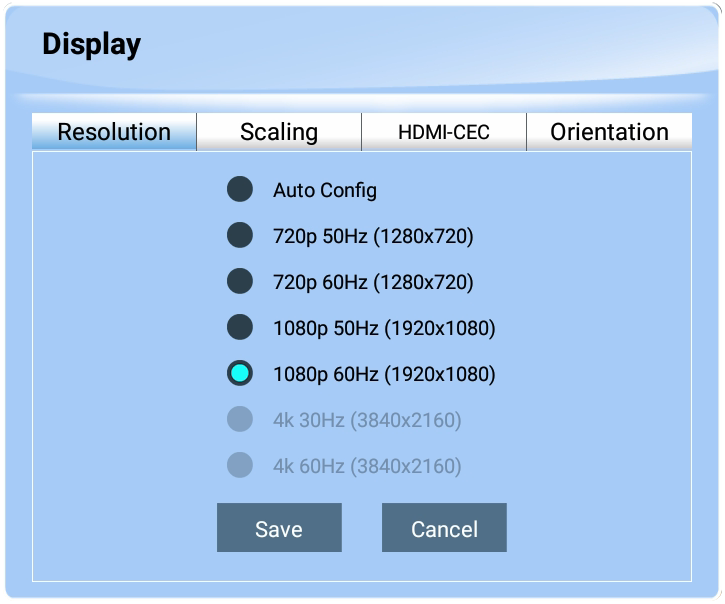
2.2.2 Display
The “Display” button allows you to configure the followings
- Resolution: Set the proper display resolution. It is worth mentioning that unsupported display resolutions will become inactive. For example, if you connect a non-4K monitor to NovoDS, the “4K” resolution will be greyed out, as shown in the figure below.
- Scaling: Resize the display output dimension.
- HDMI-CEC: Enable/disable HDMI-CEC feature. Once it is enabled, you can use TV remote control to control NovoDS device as well.
- Orientation: Set the appropriate orientation of your display.
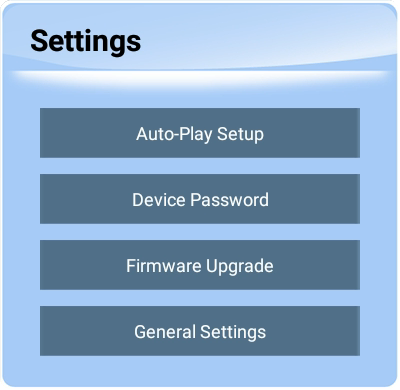
2.2.3 Settings
There are several actions you can take under button “Settings”.
- “Auto-Play Setup” – Configure auto-playback after device’s boot-up and upon microSD card insertion.
- “Settings Protection” – Lock or unlock device settings with a password.
- “Firmware Upgrade” – Check for firmware upgrade from our Internet server.
- “General Settings” – Set regional language, date & time, etc.
2.2.4 Restart
Click on “Restart” to restart the NovoDS device.
2.2.5 Play Demo
There is a demo playlist available on your NovoDS device, which demonstrates some of the features your NovoDS device can do. Click on button “Play Demo” to see it in action in seconds.


