3.2 How to Configure Device Network Settings
NovoDS provides network setting as dynamic or static IP.
There are two way to configure device’s network settings, one is configuring the setting from device, and the other way is creating a configure file.
Configure Network setting from devices
- Go to DS Devices, click Connect on target device, then click Device Settings.
- Navigate to Network, click Settings.
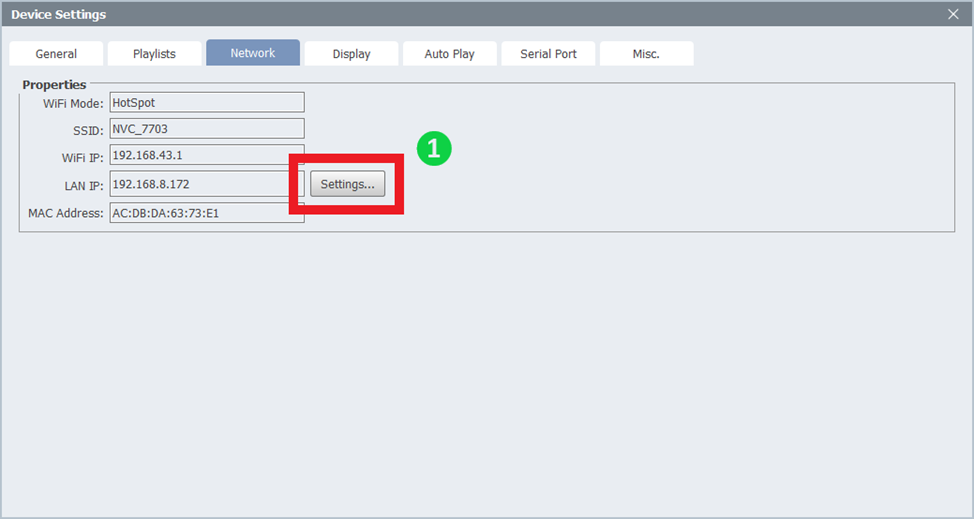
- Default setting is DHCP.
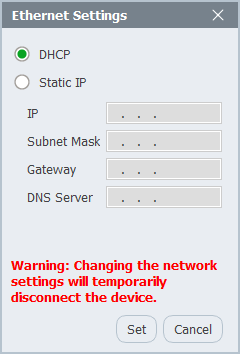
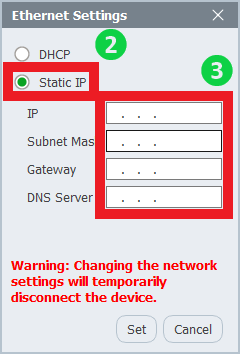
- Select Static IP, and fill in the IP address, Subnet mask, Gateway and Domain name server according to actual needs.
- Click Set and exit, device will retrieve the new IP address in a few seconds.
Create a configure file
- Go to DS Devices, click Generate Configuration File.

- Navigate to LAN, then Select Static IP.
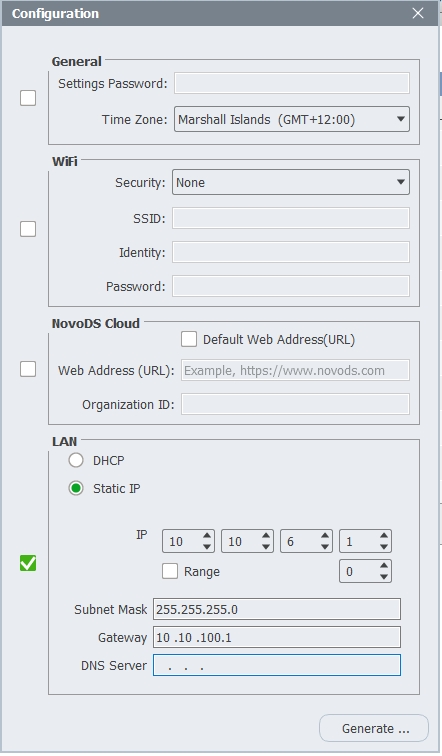
- Fill in the IP address, Subnet mask, Gateway, and DNS Server according to actual needs.
- The function is able to generate a single IP configuration file or a required range of files.
- To generate more than one configuration file, check the Range box and enter the required numbers.
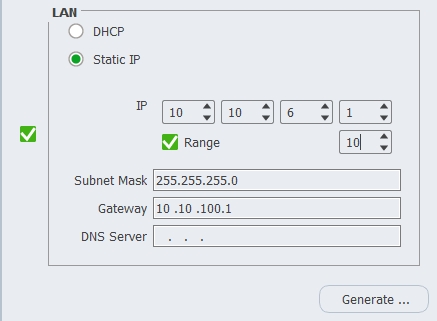
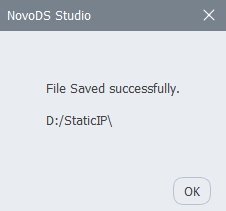
- Click Generate to create the file(s), then select the destination folder to save the configuration file.
- A message will pop up on the screen confirming the successful generation.
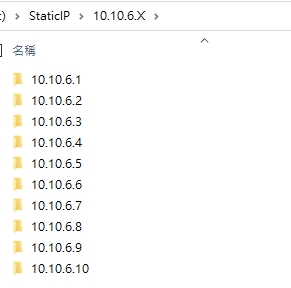
- All configuration files will be saved in separate folders under your selected folder and will be named after their corresponding IP addresses.
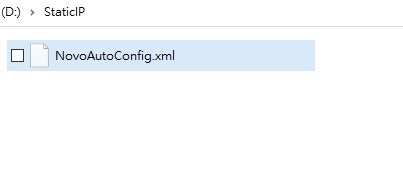
- Enter the folder and copy the generated file NovoAutoConfig.xml to the root directory of a microSD card or a USB disk.
- Insert the microSD card or USB drive into a DS device’s corresponding port.
- The device will automatically read the configuration file and apply its network settings accordingly.
- Once the setting is applied, a confirming message will be displayed on the home screen.


