4.4 Create Groups
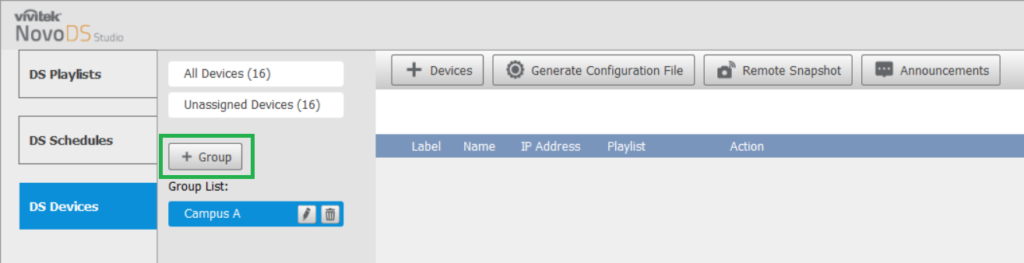
Groups allow you to organize the devices in your device list into customized categories (e.g. “Campus A”, “Building C”, “Conference Rooms”, etc.). You can also use groups to perform “group action” to all the devices in a group. To create a group, click the + Group button, as highlighted in the figure below.
Once you click the + Group button, the Create New Group pop-up window will appear. Follow the steps below to create the group:
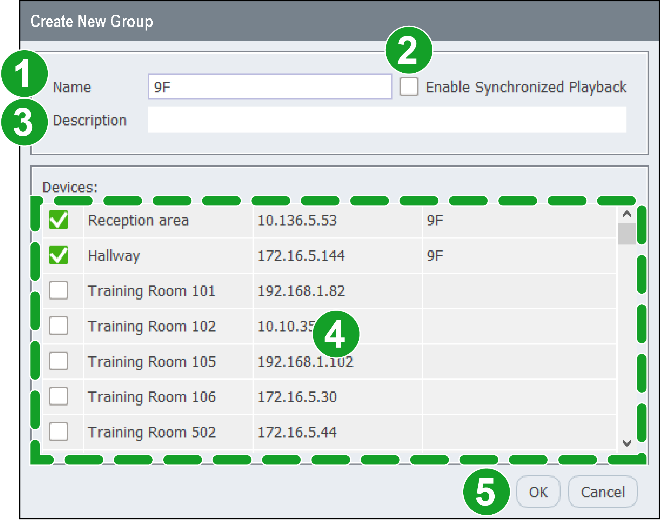
- In the Name field, enter the name you want for the group.
- Check the Enable Synchronized Playback box if you want all the devices in the group to synchronize their playback (to a “master” device).
NOTE 1: The devices in the group must all be connected via Ethernet.
NOTE 2: Click the “Set as Master Unit” button in the action column to set the master device. - In the Description field, enter a more descriptive note to help further identify the group.
- The Devices field will list all the devices in your device list. Check the box next to the devices you want to add into your group.
- Click OK to finish creating the group.
To add devices to a group after you have created it, follow the instructions in Add Devices to a Group.