3.5 NT LiveScreen, LiveReceiver & Live Hub
NT LiveScreen & LiveReceiver
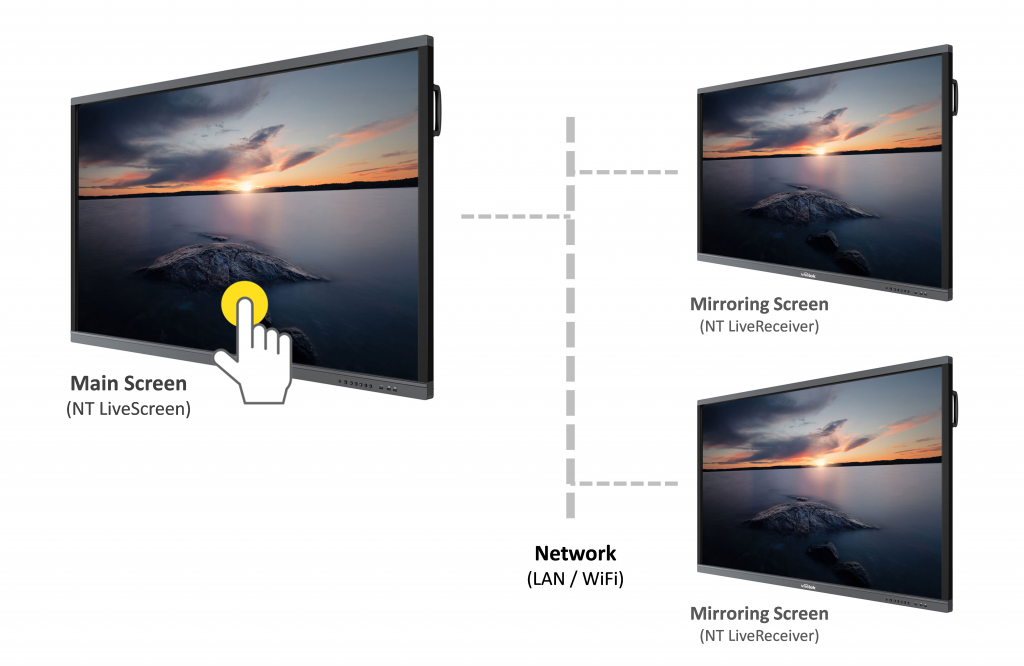
They are two applications that will facilitate the collaborative environment in both educational and corporate settings. The user will be able to mirror the screen shown on one NovoTouch to other NovoTouches using these two applications, as illustrated in the following figure.
This guide will provide step by step instructions on how to set up both the NT LiveScreen, NT LiveReceiver and NT Live Hub applications.
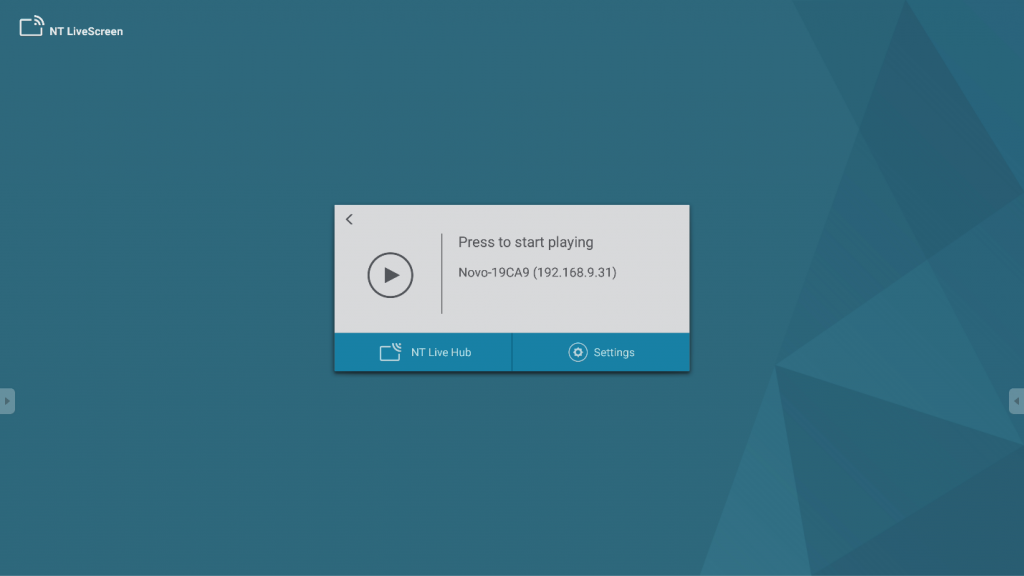
Step 1: Launch the LiveScreen application on the main NovoTouch as shown below:
Step 2: Click the Settings to configure your
streaming options:
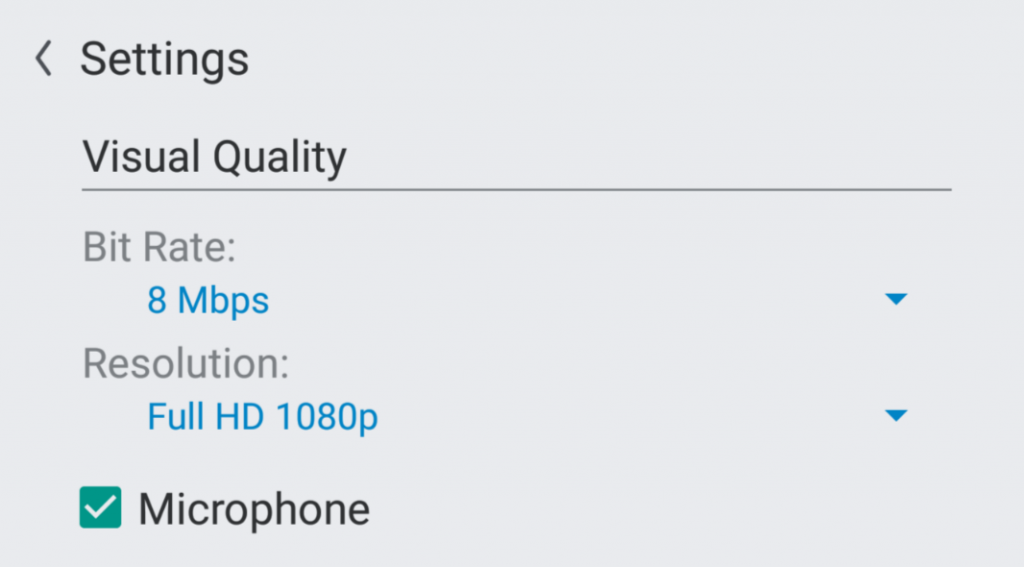
Step 3: Select the Bit Rate (Default 8 Mbps):
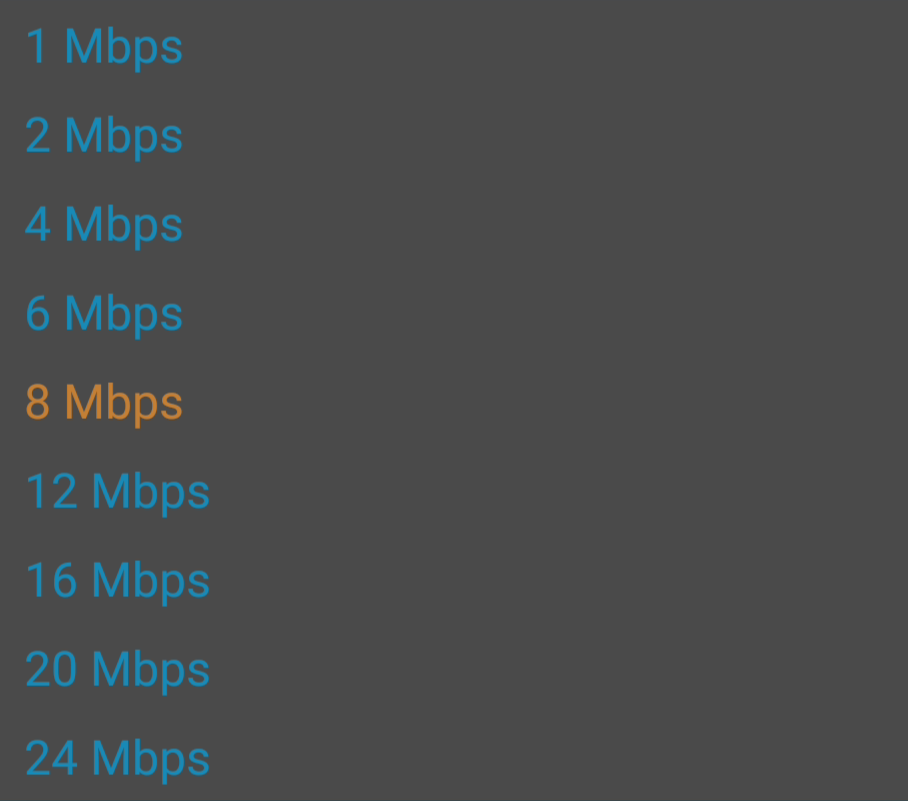
The higher the
bit rate is, the better the mirroring quality is but the more network bandwidth
it consumes.
Step 4: Select the Resolution (Default Full HD
1080p):

Step 5: Click the Play icon to start the
Screen Capture.
Step 6: Launch NT LiveReceiver on the subsequent NovoTouches that you would like to Livestream from the original NovoTouch. You can manually enter the IP address of the original NovoTouch.
Step 7: You can also click “Nearby Screens” to
display nearby NovoTouches with NT LiveScreen enabled
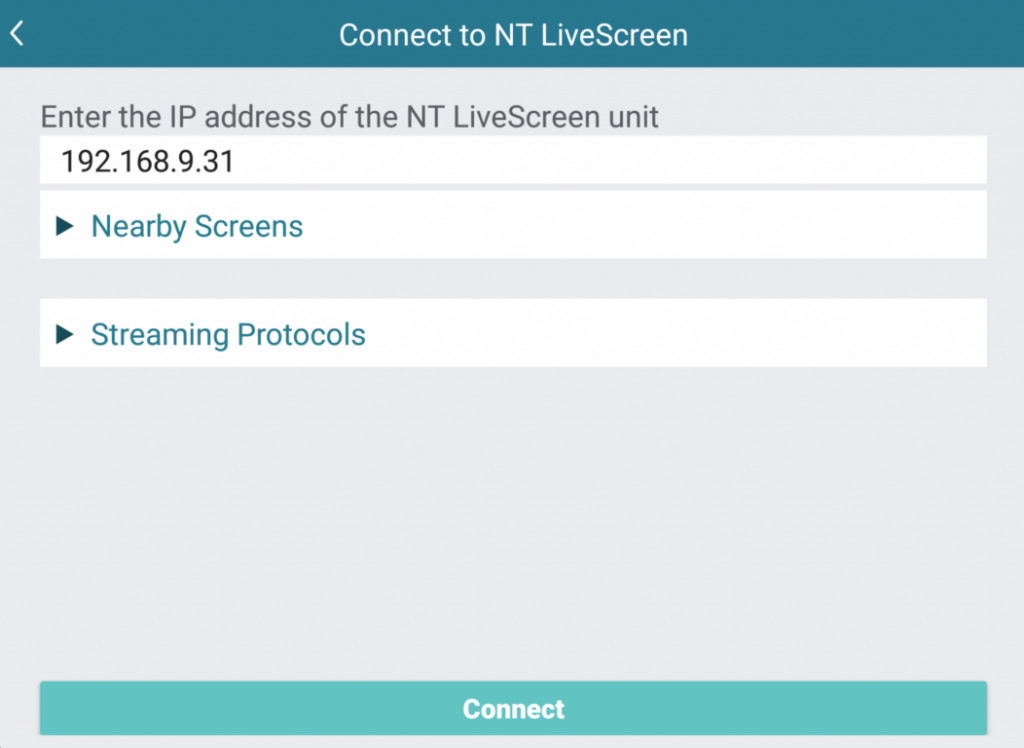
Step 8: Click Connect to start streaming.
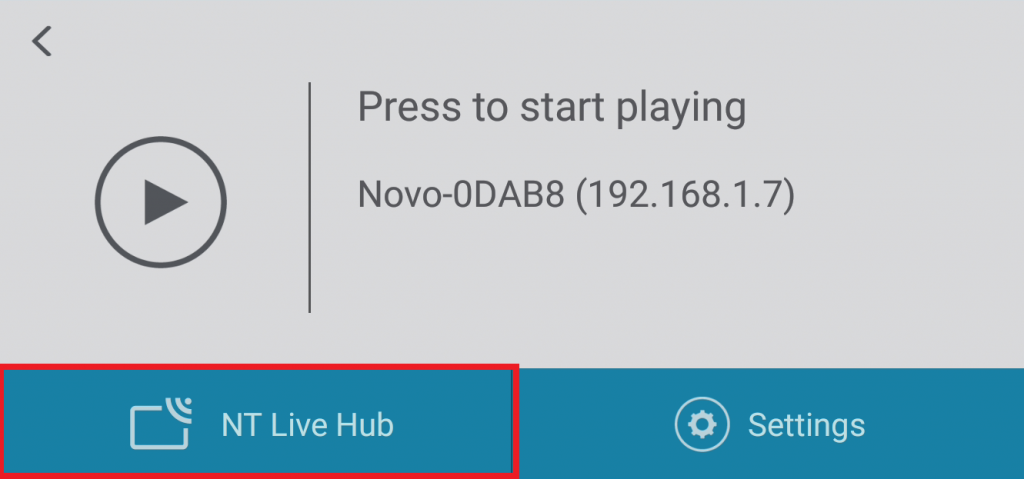
NT Live Hub
Based on NT LiveScreen & LiveReceiver, Live Hub provide you an instant device lookup interface to send the live screen to receivers.
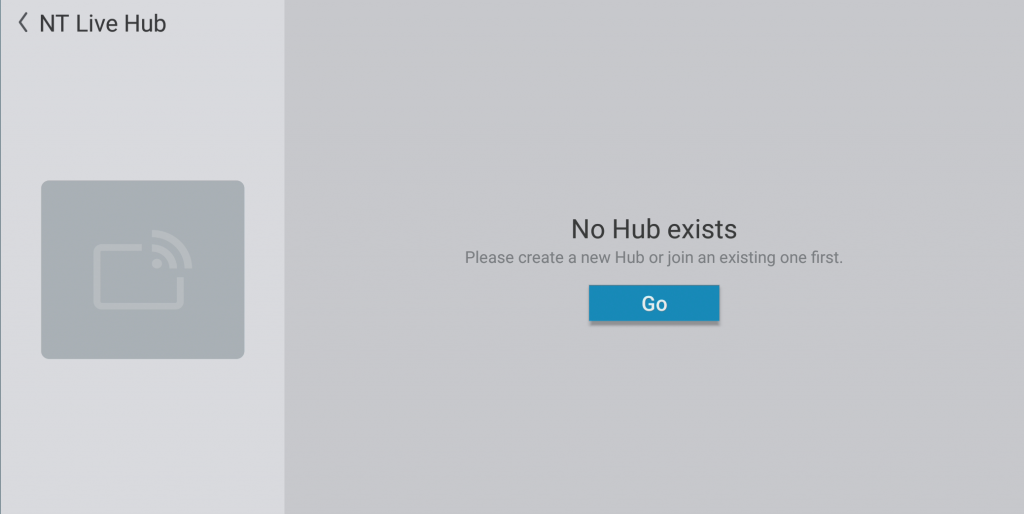
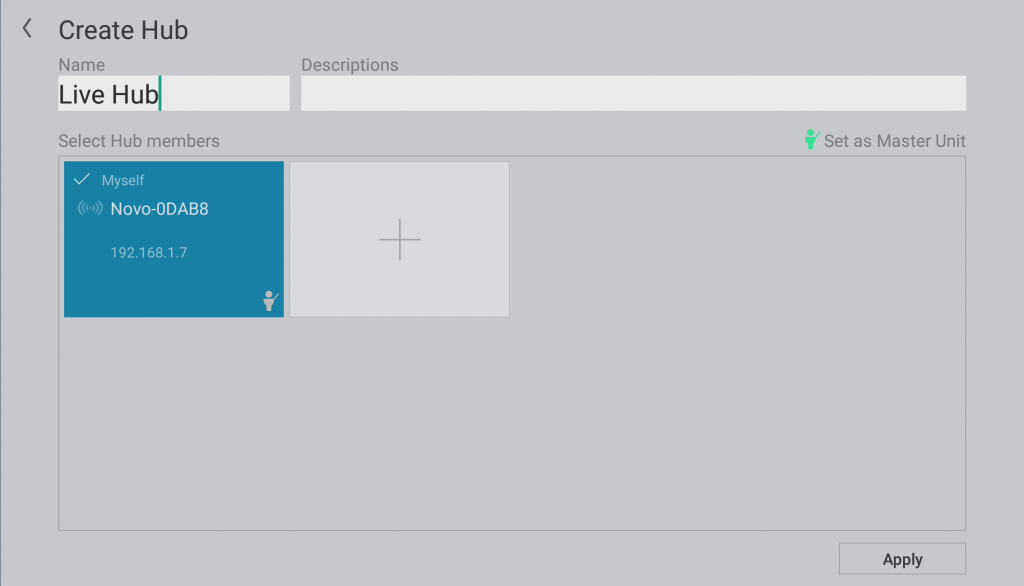
Step 1: Create a Hub
Tap “Go” to create a new Hub.
Input the Hub name.
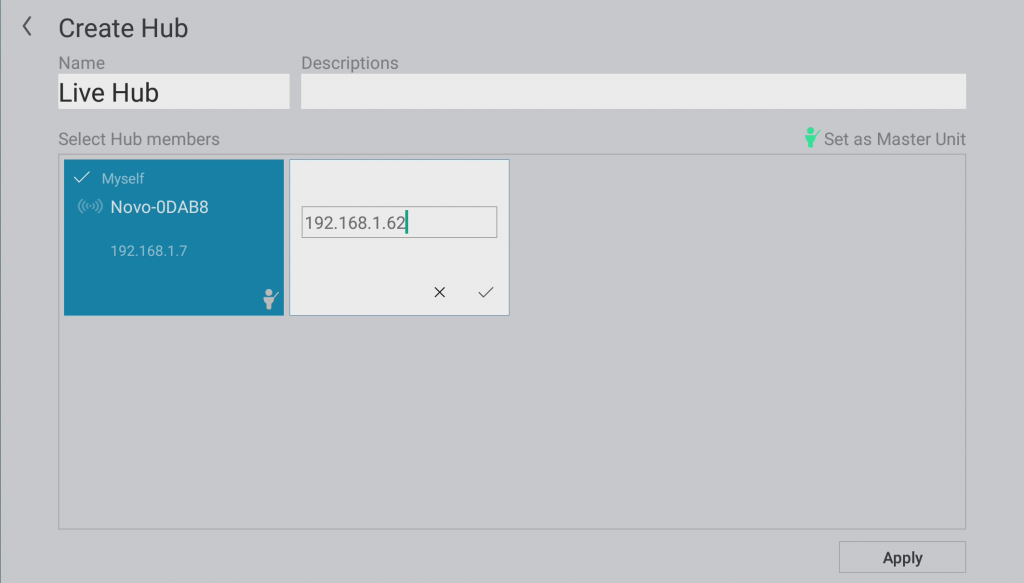
Step 2: Add Receiver(s)
Input the Receiver’s IP address, then tap the tick.
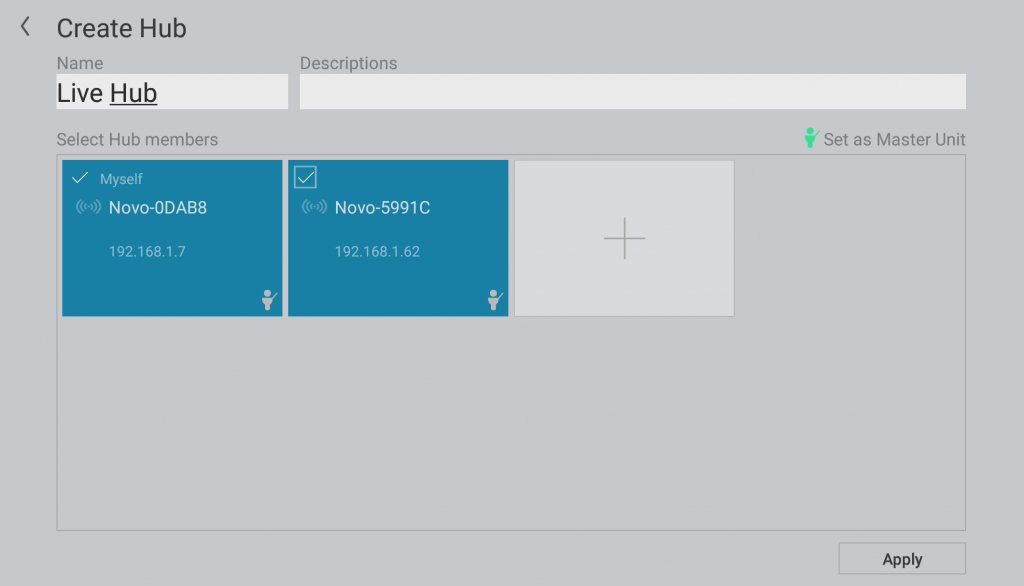
Check all devices, then tap “Apply” to continue.
*At least two or more devices to create a Hub.
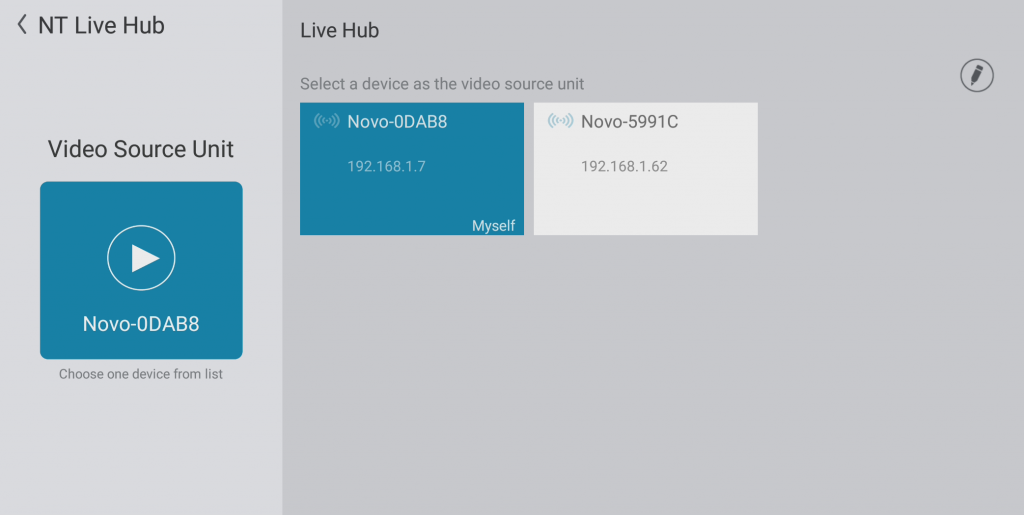
Step 3: Starting live screen
Select a device as the video source and tap “Play” to start.