2.3 Network Configuration
Ethernet
NovoDisplay can be connected to the Ethernet via its RJ45 port. Using Ethernet connection is recommended since it gives you better robustness and higher performance.
Both DHCP and Static IP are supported. By default, DHCP is used. To change the configuratio, access menu Presentation > Device Settings > General > Advanced > Ethernet > Ethernet Configuration.
- DHCP: Automatically obtain an IP address from the DHCP server on the network.
- Static IP: System Administrator manually assigns a fixed IP address to the device.
WiFi
NovoDisplay comes with high-performance WiFi capability (802.11ac, dual bands 2.4/5GHz). You can configure it to connect to existing WiFi network, or, serve as a WiFi Hot-spot (by default).
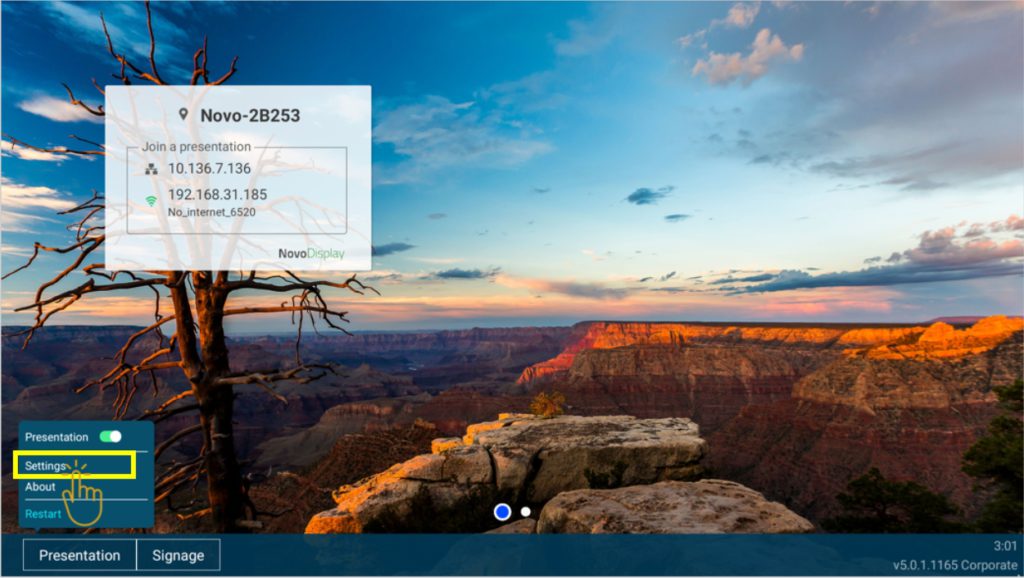
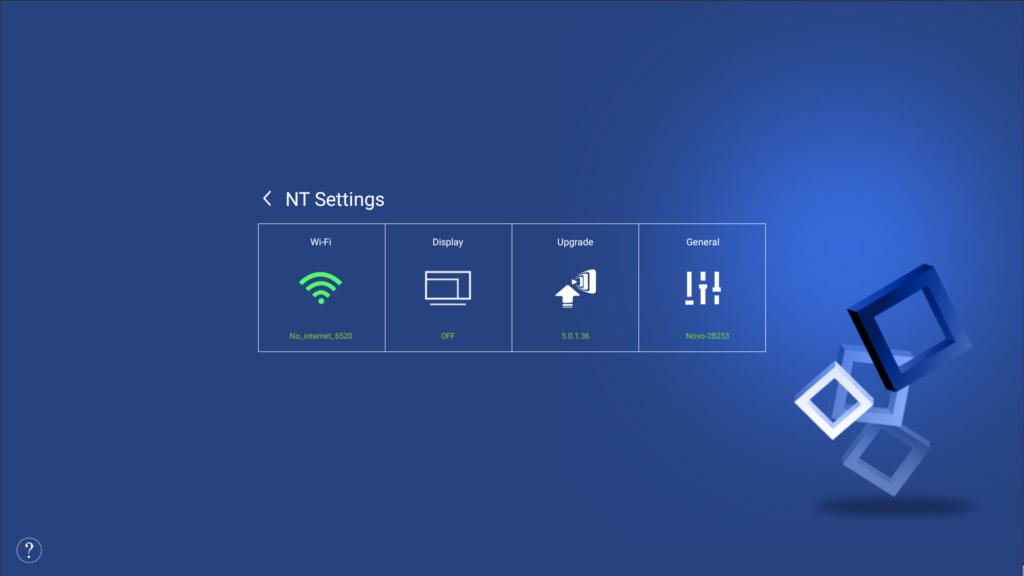
To configure the WiFi, access menu Presentation > Device Settings > Wi-Fi.
There are three connection types on NovoDisplay: Wi-Fi Hotspot, connect to Wi-Fi, and turn off Wi-Fi to use Ethernet only.
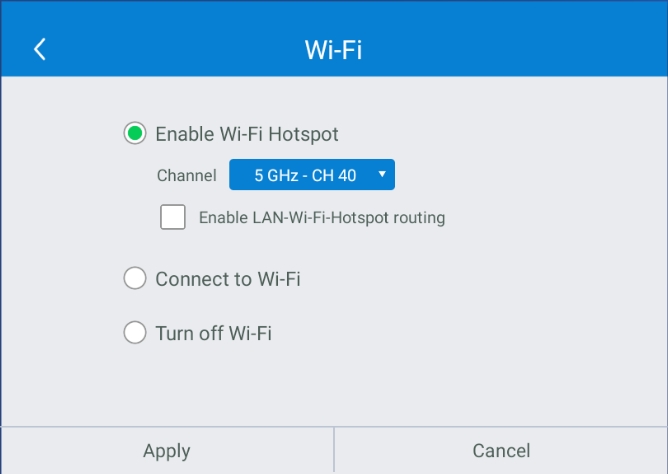
(1) WiFi Hotspot Mode (default)
Create its own Wi-Fi network, allowing users to connect their mobile devices to this ad hoc network. The WiFi frequency (2.4GHz or 5GHz) and channel are configurable.
When Enable LAN-Wi-Fi Hotspot has enabled, devices connected to this WiFi Hot-spot can access the Internet through the LAN connection. (by default this feature is disable)
To modify hotspot SSID and password, go to How to rename hotspot SSID and encryption section for more information.
(2) Connect to Wi-Fi
Connect to an existing Wi-Fi network. It supports all the main stream WiFi authentication protocol, such as WPA, WPA2 and IEEE 802.1x Authentication.
(3) Turn Wi-Fi off
Disable Wi-Fi function. This is desirable in cases where System Administrator wants to minimize RF pollution.
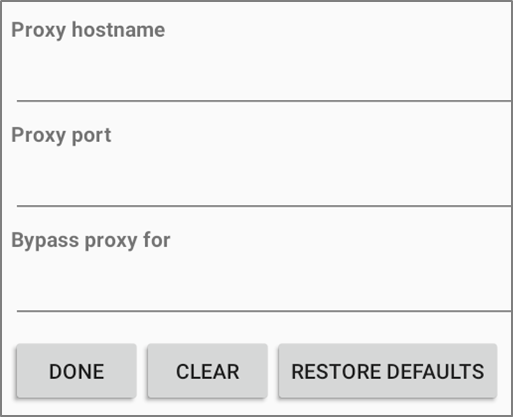
Network Proxy
Network Proxy is supported by NovoDisplay. Follow the steps below to proceed.
- Go to NT Settings → Gereral → Advanced
- Select Network & Internet
- Select Proxy
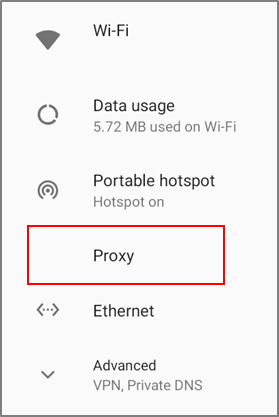
4. Enter Proxy hostname, port and bypass websites as you see fit.
Tutorial Video