How To Set Up A Schedule
This feature allows users to assign a playlist or settings to play at a specific time of day and then apply that schedule to a device or group.
4.1 Creating a schedule
Step1. Click the ‘Quick Actions’ icon listed on the top side, then a menu pop-on the screen.
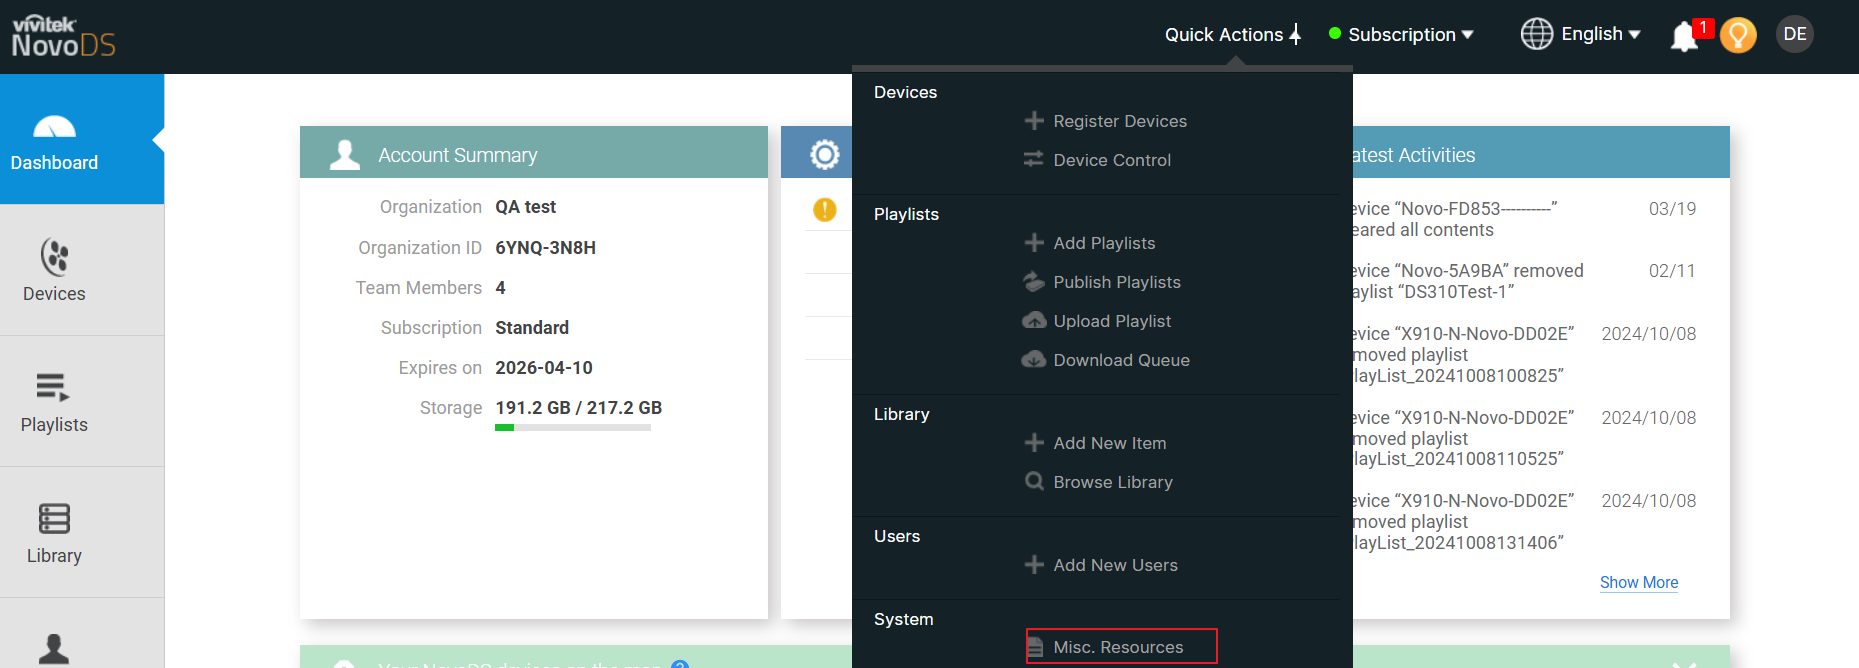
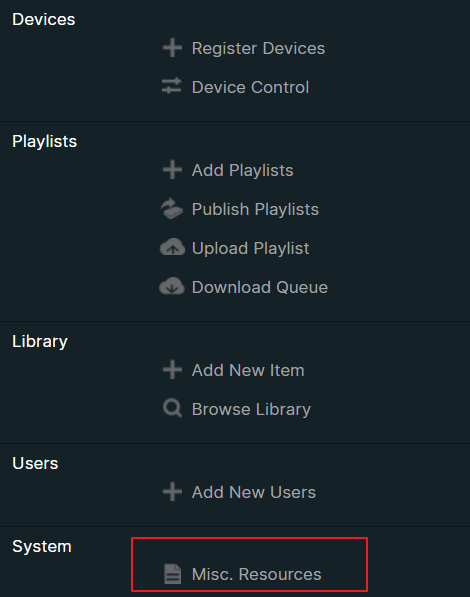
Step2. Click ‘Misc. Resources’ listed on the bottom (marked in red).
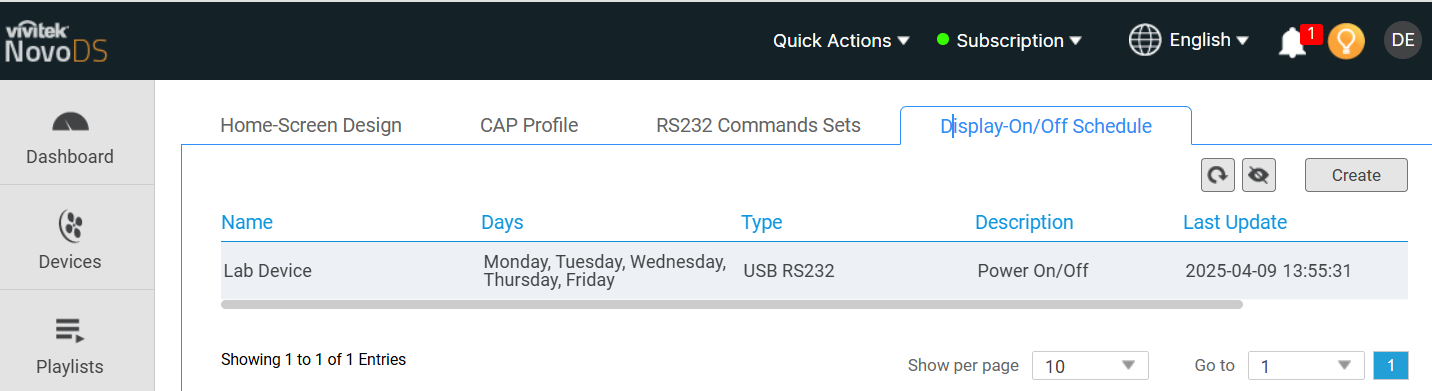
Step3. On this page, there are four features that can be set up. Click the tab ‘Display On/Off Schedule’ to create a power on/off schedule.
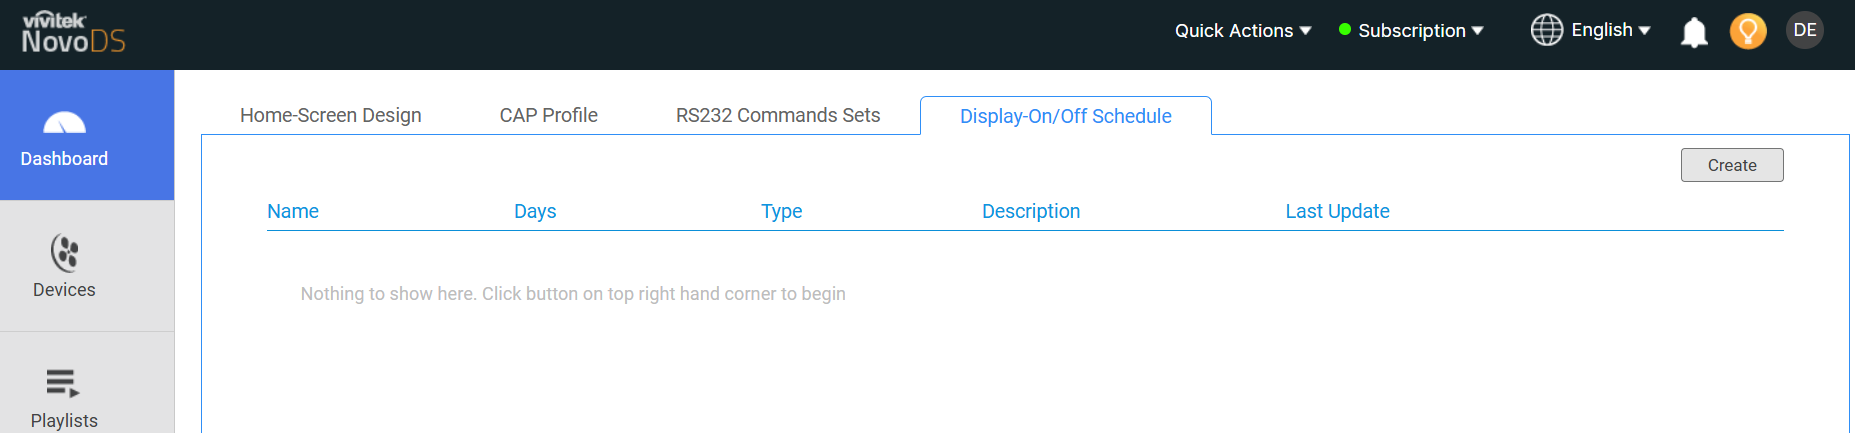
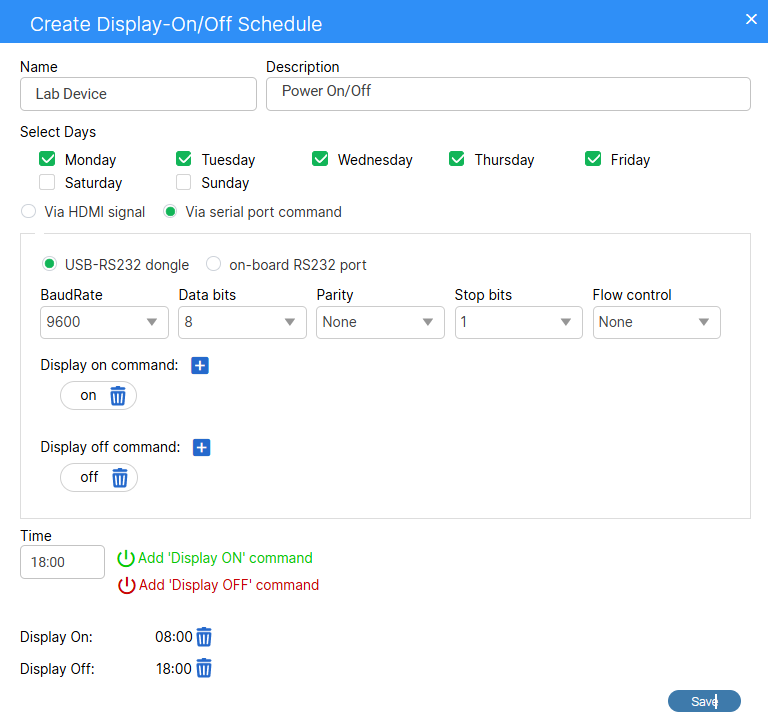
Step4. Click the ‘Create’ button on the top left side. Then, the ‘Create Display On/Off Schedule’ window will appear on the screen.
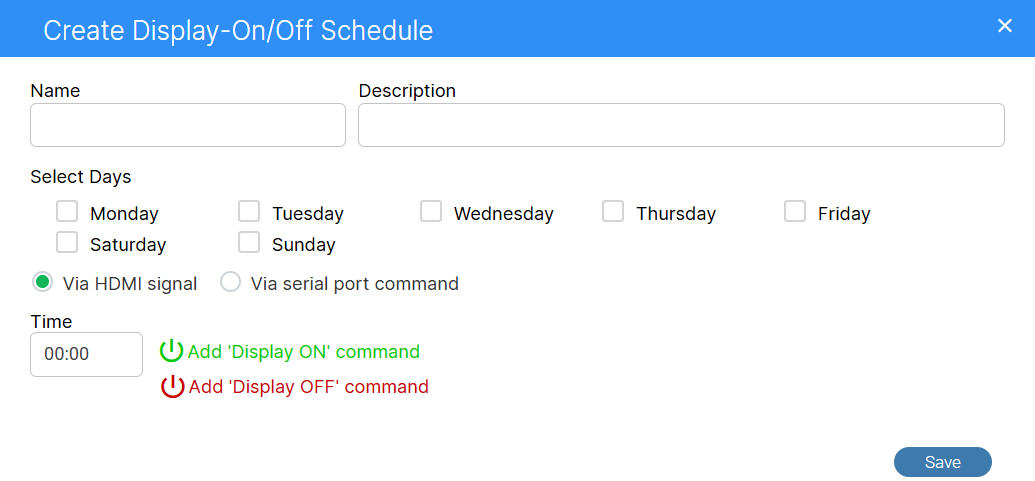
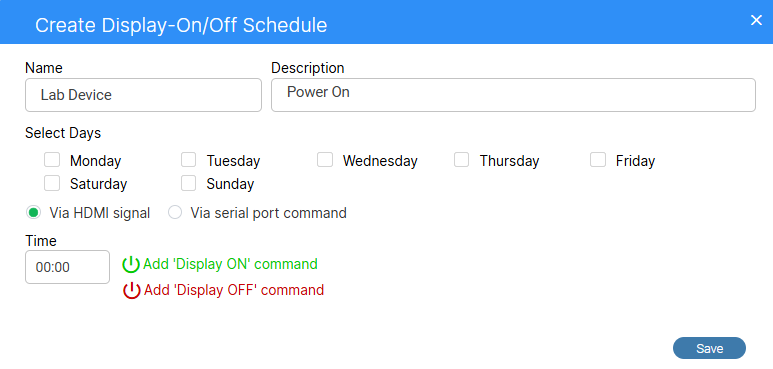
Step5. Within this settings window, you can create a Power On or Power Off schedule and select your preferred days.
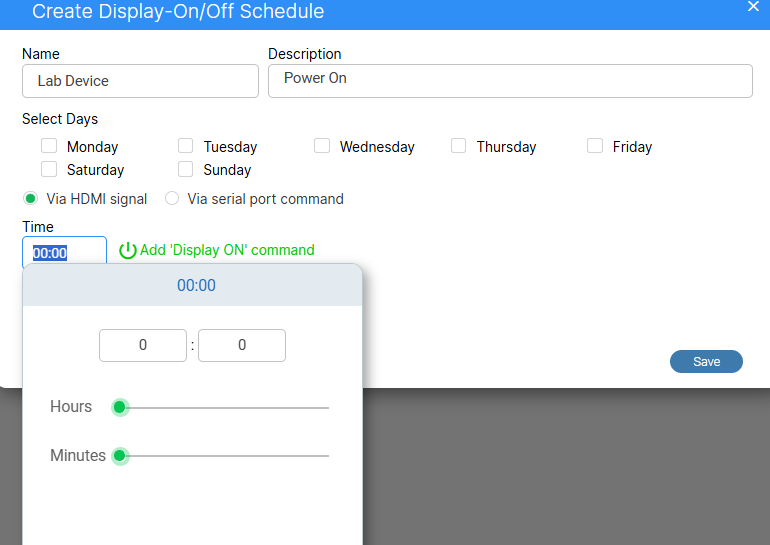
Step6. To set the ‘ON’ or ‘OFF’ time, click the ‘Time’ button, and a time setting window will appear. After setting the time, click the ‘Add Display ON command’ button; the setting will then be listed in the window. Repeat this process to set up power off.
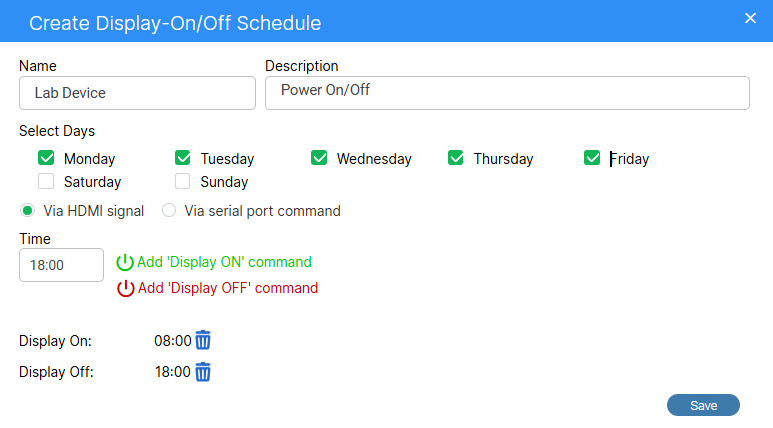
Step7. Select the display on/off through ‘Via HDMI signal’ or ‘Via serial port command’.
Step8. Select ‘Via serial port command’ to configure power on/off through RS-232.
Step9. After all the settings are completed, click ‘SAVE’ to save these settings.
Step10. The newly created schedule will be displayed on the page.