Software Setup
Step 1. In the NT Launcher home screen, tap the button at the bottom-right corner.
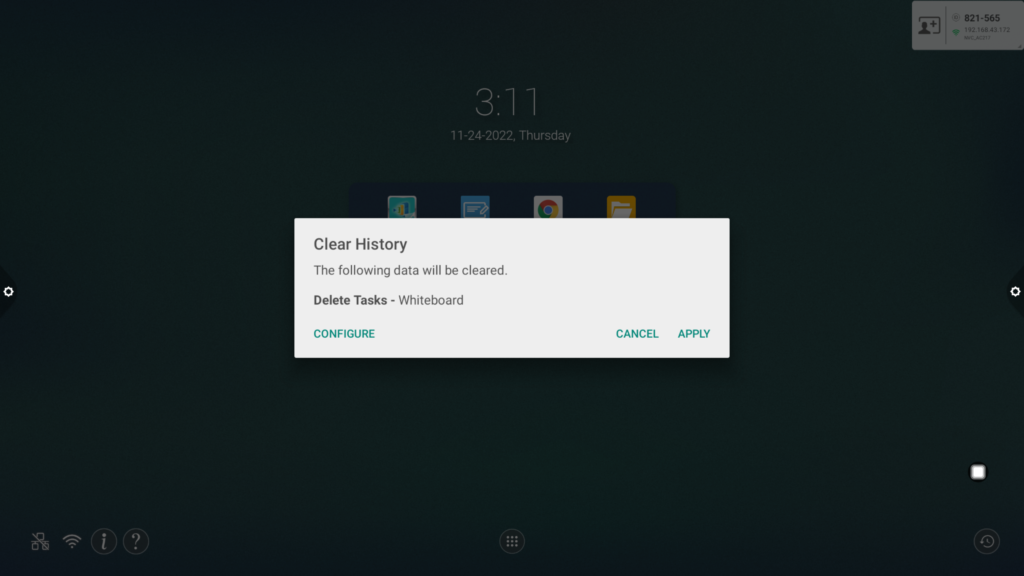
Step 2. Tap CONFIGURE to enter the Configuration menu.
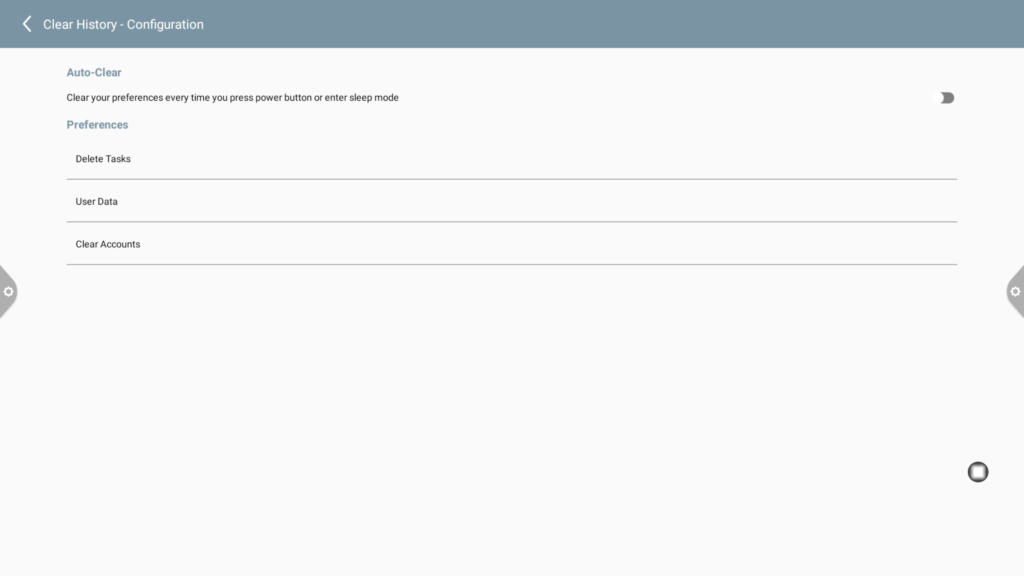
Step 3. The following options will be shown:
- Auto-Clear:
When enabled, the display will clear its history anytime the power button is pressed or the display enters sleep mode.
- Delete Tasks:
Allows you to remove any of the third-party apps shown from the recently used apps list.

- Folders:
Tap + to add a folder to the list of folders to clear.

After selecting a folder, you can choose whether to delete the folder entirely or just clear the folder of its contents.

- User Data:
Allows you to clear a third-party app of its user information.

- Clear Accounts:
Allows you to clear any accounts from the system.

Step 4. Tap < to return to the Configuration menu.
Step 5. Repeat step 1 and tap Apply to begin clearing the history. If Auto-Clear has been enabled, press the power button on the display.


